What a 'Full Tear-Off' Actually Involves, Step by Step
"Full tear-off" gets thrown around a lot in roofing estimates, but most homeowners have never actually seen what happens between the dumpster showing up and the crew driving away. It's not just stripping shingles and nailing down new ones. Done right, it's a specific sequence, and skipping or rushing any step is exactly how a roof ends up leaking again in three years instead of lasting through a couple of decades of Piedmont summers and ice storms.
Here's what actually happens, in order, on a typical tear-off in the Greensboro, High Point, or Winston-Salem area.
1. Protecting the property before anything gets touched
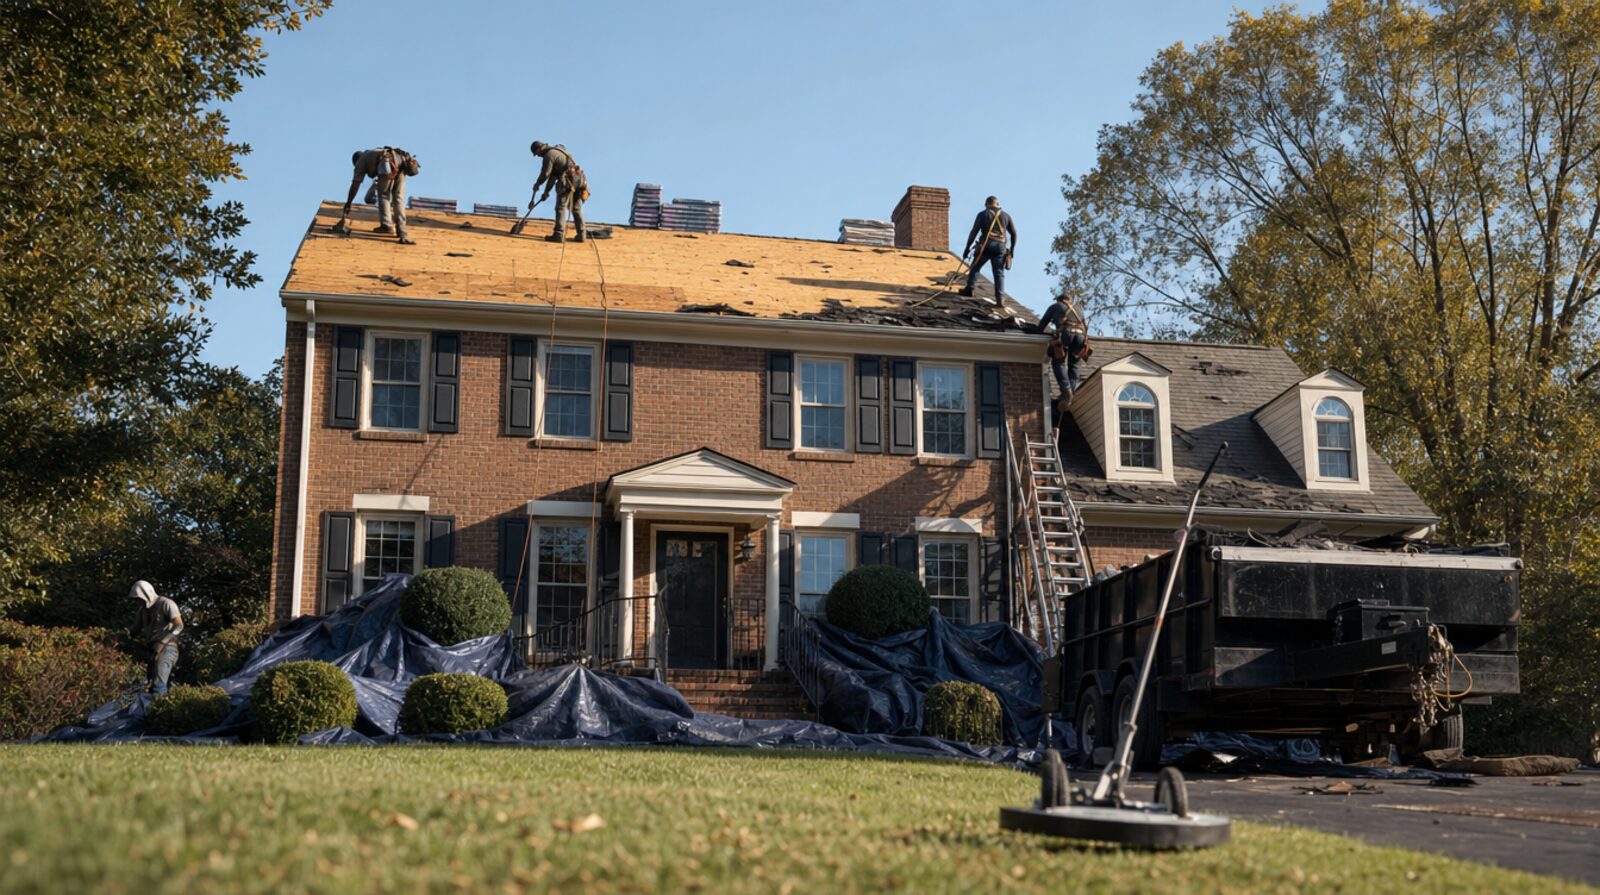
Before a single shingle comes off, a good crew spends real time on setup. That means tarps over landscaping beds, shrubs, and anything under the eaves; plywood or tarps laid across the driveway and walkways where debris will be tossed down; and protection for gutters, downspouts, and any AC units or pool equipment near the drop zone. Windows get covered if there's a risk of falling debris near them.
This stage also includes staging the dumpster or trailer close enough to minimize how far crews have to carry tear-off debris, and setting up magnetic sweepers that'll be used later to pick up stray nails. Skipping this step is how homeowners end up with a flat tire in the driveway a week later or a mangled azalea bush.
2. Stripping the old roof down to bare decking
This is the part people picture when they hear "tear-off." Crews work in sections, usually starting near the ridge and working down toward the eaves, using roofing shovels and pry bars to lift shingles, old underlayment, and flashing off the deck. Everything comes off, not just the visible shingle layer. On older Triad homes it's not unusual to find two or even three layers of roofing stacked on top of each other from previous re-roofs — all of it has to come off in a true tear-off, since building code and manufacturer warranties generally don't allow more than a couple of layers, and a full replacement is the only way to properly inspect the deck underneath.
Debris gets shoveled or thrown directly into the dumpster or a tarp-lined chute rather than left to pile up on the roof, which matters for both safety and keeping foot traffic from grinding nails and grit into the shingles below.
3. Inspecting and repairing the roof deck
With the deck exposed, this is the one step that separates a roof that lasts from one that doesn't. Every sheet of OSB or plywood sheathing gets walked and checked for soft spots, delamination, sagging, or water staining that signals rot underneath. Common trouble spots in this region are around chimneys, plumbing vents, and any valley where water has been draining for years.
Any bad decking gets cut out on the rafter lines and replaced with new sheathing matched to the existing thickness, then properly nailed off. This is also when a crew can catch ventilation issues, undersized rafters, or old damage that never showed up from the ground. It's worth asking your contractor how they price deck replacement — by the sheet is standard — so there are no surprises if rot turns up.
4. Underlayment, flashing, and ventilation
Once the deck is sound, the crew builds the water-management system that does most of the real work protecting your home:
- Ice-and-water shield along eaves, in valleys, and around any roof penetration — the self-adhering membrane that guards against wind-driven rain and ice damming
- Synthetic underlayment across the rest of the deck, which has largely replaced old felt paper because it holds up better if rain moves in mid-job
- New drip edge at eaves and rakes
- Step flashing and counter-flashing at chimneys, walls, and any roof-to-wall transitions
- New pipe boots and vent flashing around every penetration, since old rubber boots crack and are one of the most common sources of small leaks
Attic ventilation gets addressed here too — ridge vents, box vents, or soffit intake, depending on what the attic needs to actually move air and keep the new shingles from baking from underneath.
5. Shingle installation and final cleanup
With the deck properly protected, shingles go down according to the manufacturer's nailing pattern and exposure spacing, starting with a starter course at the eaves and working up to a capped ridge. Getting nail placement and count right isn't cosmetic — it's what the wind rating of the shingle actually depends on.
The job isn't done when the last shingle is nailed. A thorough crew does a full walk of the yard and driveway, runs magnetic sweepers across the lawn and hardscape multiple times to pick up stray nails, and hauls off the dumpster or debris trailer. Ask your contractor what their cleanup process looks like before the job starts — it tells you a lot about how they'll treat the rest of the project.
A tear-off you can't see under the shingles — the decking repair, the flashing, the underlayment — is the part that determines whether your new roof makes it to year 20 or starts leaking at year 5.
What to ask before you sign a tear-off contract
A few questions separate a straightforward job from a headache later: How is decking replacement priced if they find rot? What underlayment and ice-and-water shield are included, and where will it be installed? Will they be doing a full sweep for nails when the job wraps? A contractor who can walk through this sequence step by step, without hedging, is one who's done it enough times to know exactly where things go wrong.
Stop Guessing on Price
Get precise measurements and a detailed price range for your specific roof right now using our AI technology. No home visit required.
Get my price