How AI Roof Measurement Actually Works, Step by Step
Why We Started Measuring Roofs This Way
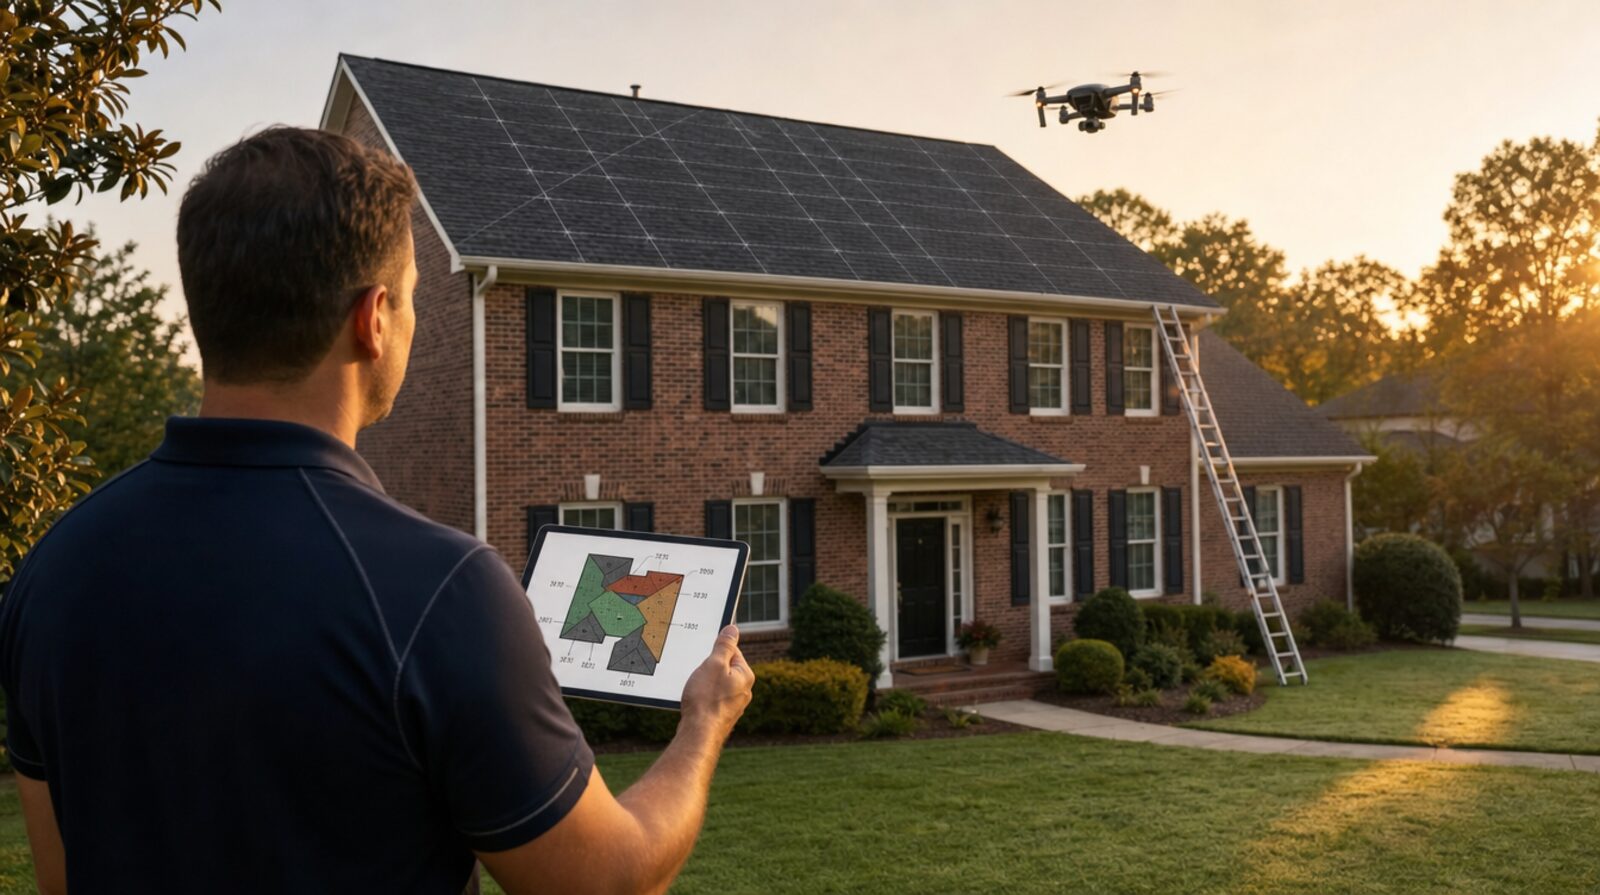
For most of the years we've been climbing roofs in Greensboro, High Point, and Winston-Salem, measuring a roof meant exactly what you'd expect: a ladder, a tape measure, a notepad, and a contractor walking every plane by hand. That method still has its place, and we still get on roofs for anything unusual. But for a homeowner who just wants a solid, accurate starting estimate without waiting on a truck to show up, aerial and AI-assisted measurement has changed the game — as long as you understand what it's actually doing under the hood.
A lot of homeowners assume "AI measurement" means someone snaps a photo and a computer spits out a number by magic. It's more methodical than that, and it's worth walking through, because the accuracy of your estimate depends on every one of these steps happening correctly.
The Step-by-Step Process
1. Pull high-resolution overhead imagery
The process starts with recent aerial or satellite imagery tied to your specific property address. The software isn't guessing at a generic house shape — it's locating your parcel and lining the imagery up with your actual roof footprint. Image quality and recency matter here; an outdated image that doesn't reflect a room addition or a new porch roof will throw off everything downstream.
2. Trace the roof's planes and edges
From there, the software identifies every distinct roof plane and the lines that connect them: ridges (the top horizontal edge), hips (the sloped edges where two planes meet at an angle), valleys (where two planes meet and channel water), eaves (the lower horizontal edge), and rakes (the sloped edge along a gable). On a simple ranch with a straightforward gable roof, this might be four or six lines. On a home with dormers, a cross-hip design, or multiple additions over the years, it can be dozens.
3. Calculate pitch and total square footage
Once the geometry is mapped, the system estimates the slope, or pitch, of each plane using shadow angles and elevation data, then calculates the surface area. That area gets converted into roofing squares — one square equals 100 square feet — which is the unit shingles, underlayment, and labor are priced by. A good system also builds in a waste factor, typically in the 10-15% range depending on roof complexity, because no roof gets shingled without cuts, offcuts, and overlap at the edges.
4. Flag penetrations and complexity
Chimneys, skylights, plumbing vents, and dormers all get marked, since each one needs flashing and adds labor time. The software also totals the linear footage of ridge, hip, and valley, which determines how much ridge cap and valley material the job needs. A roof with a lot of valleys and dormers costs more to install than a plain gable roof of the same square footage, and a measurement report should reflect that difference.
5. Human review against the imagery
This is the step people skip when they explain the process, and it's the one we won't skip. Software can misread a shadow as a ridge line, or miss a low-slope porch roof tucked behind a tree. One of our estimators reviews the automated output against the imagery, and when something looks off — an odd angle, a missing plane, tree cover obscuring part of the roof — we'll do a ground-level walk-around or get on the roof itself before anything goes into a written proposal.
6. Convert measurements into a real proposal
Once the squares, pitch, and linear footage are verified, that data feeds into a materials list and labor estimate. This is where the measurement actually becomes useful to you as a homeowner: a proposal built on your roof's real geometry instead of a rough per-square guess based on your home's footprint.
What This Means for You as a Homeowner
The practical upside is speed and a starting point you can trust before a crew ever sets foot on your property. You can get a reasonably accurate sense of scope and cost early in the process, which helps if you're comparing options or budgeting for a project down the road.
The limits are just as important to understand. Aerial measurement can't tell you the condition of the decking underneath, whether there's hidden water damage around a chimney, or how many layers of old shingles are already up there. It measures geometry, not condition. That's why we treat it as the first step in the process, not the last one — a fast, accurate way to scope the job, followed by a real inspection before any contract gets signed.
If a company hands you a firm number without ever discussing what's happening on the roof's surface, ask what happens next. Measurement tells you the size of the job. Only an inspection tells you the condition of what you're working with.
When we send over an estimate built from this process, we're glad to walk you through exactly which numbers came from the imagery and which came from a person looking at your specific roof. If something doesn't match what you're seeing from the ground, tell us — that's exactly the kind of detail the human review step is there to catch.
Stop Guessing on Price
Get precise measurements and a detailed price range for your specific roof right now using our AI technology. No home visit required.
Get my price